Download DigiLocker App And How to Use?
In today’s digital age, managing important documents electronically has become increasingly important. DigiLocker, an initiative by the Government of India, is designed to offer a secure and convenient digital storage solution for everyone.
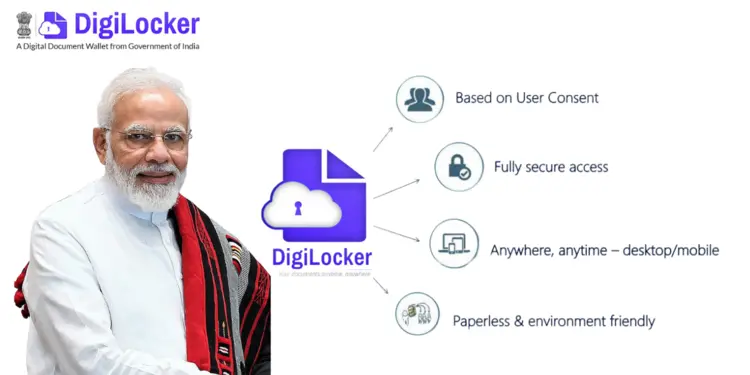
In this article we’ll help into the different aspects of DigiLock, its uses, and its impact on document management. With features such as Digital Locker App download, secure PIN access, and seamless integration with government services, Digital Locker is leading the charge toward a paperless future.
What Is DigiLocker?
DigiLock App is a modern digital platform created by the Government of India to help people manage their documents easily. It acts like a safe online storage space where you can keep different types of electronic records and certificates issued by government offices.

As part of the Digital India project, Digital Locker wants to replace paper documents with digital ones that are safe and can be accessed from anywhere. You can use DigiLock to upload, save, and share documents like school certificates, ID proofs such as Aadhar and PAN cards, vehicle registration papers, and more.
Key Features of Digilock india
DigiLock offers a range of features designed to enhance document management:
- Secure Access and Storage:
- DigiLock ensures the security of your documents with encryption and user authentication measures such as a DigiLocks security pin. This robust security system prevents unauthorized access and keeps your documents safe.
- Easy Document Sharing:
- Share your documents securely with authorized entities without the need for physical copies. Digi Locker makes the process of sharing documents seamless, quick, and secure, whether you are sharing with government departments or private organizations.
- Government Integration:
- Various government departments issue documents directly to Digi Locker, making them readily available for users. This integration helps streamline processes, making it easier to access important documents like educational certificates, IDs, and more.
- User-Friendly Interface:
- Download the DigiLock for easy access and setup. The intuitive design ensures that users can easily navigate and manage their documents without any technical hassle.
How to Get Started with DigiLocks?
Getting started with DigiLock is simple and quick:

- Download the App: Install the DigiLocks App from the official website or app stores. Whether you use an Android or iOS device, the app is available for both platforms.
- Sign Up: Create an account using your mobile number and Aadhaar number for verification. This ensures that your account is securely linked to your identity.
- Secure Your Account: Set up a Digi Locker security pin to enhance the security of your documents. This additional layer of security ensures that only you can access your stored documents.
Documents Allow Digital Locker
Digital Locker allows users to store a variety of documents securely:
- Educational Certificates:
- Access your DigiLock CBSE result 2024 class 10 or DigiLock ICSE marksheet. This feature makes it convenient for students and academic institutions to verify results and certificates.
- Identification Documents:
- Keep your PAN card or Driving license in Digi Locker for quick and easy access. These essential documents can be presented anytime, anywhere, without the need for physical copies.
- Government-Issued Certificates:
- Store important certificates like your Digi Locker birth certificate. This centralized storage ensures that you always have access to crucial documents when needed.
How do you upload documents and certificates to your Digilocks account?
Uploading documents to DigiLock is straightforward:
- Log In:
- Access your digilocks account through the app or website.
- Upload Documents:
- Click on the ‘Upload’ button and select the files you want to store. You can upload various types of documents, ensuring they are safe and easily accessible.
- Organize:
- Categorize your documents for easy retrieval. Proper organization helps quickly find the required document without any confusion.
Additional Features of Digilocks
Digilocks includes several additional features to enhance user experience:
- Version Control:
- Access the Digital Locker old version if preferred. This is useful for users who are comfortable with a previous interface or functionality.
- Multi-language Support:
- Resources like Digital Locker meaning in Tamil and DigiLocks meaning in Telugu help non-English speakers. This feature ensures that users from different linguistic backgrounds can use Digilocks efficiently.
- Open Source:
- Developers can explore Digi Locker open source and use the DigiLocks API documentation for integration. This allows for customization and integration with other applications or systems.
How to Download and Create a User ID for Digilock?(In Steps)
- Download the App: Install the DigiLock App download from the official website or app stores.
- Open the App: Launch DigiLock on your device.
- Sign Up: Enter your mobile number and receive an OTP for verification. This step is crucial for setting up a secure and verified account.
- Set Up Your Profile: Complete the profile setup by entering your UID number. This links your Digital Locker account to your official identification, enhancing security and credibility.
- Create a User ID: Choose a username and set up a Digi Locker security pin. This step finalizes your account setup, making it ready for secure document storage and management.
Bottom Line
DigiLocker is a transformative tool that simplifies the way we manage and access important documents. Offering secure storage, easy sharing, and seamless integration with government services ensures that crucial documents are always accessible when needed.


